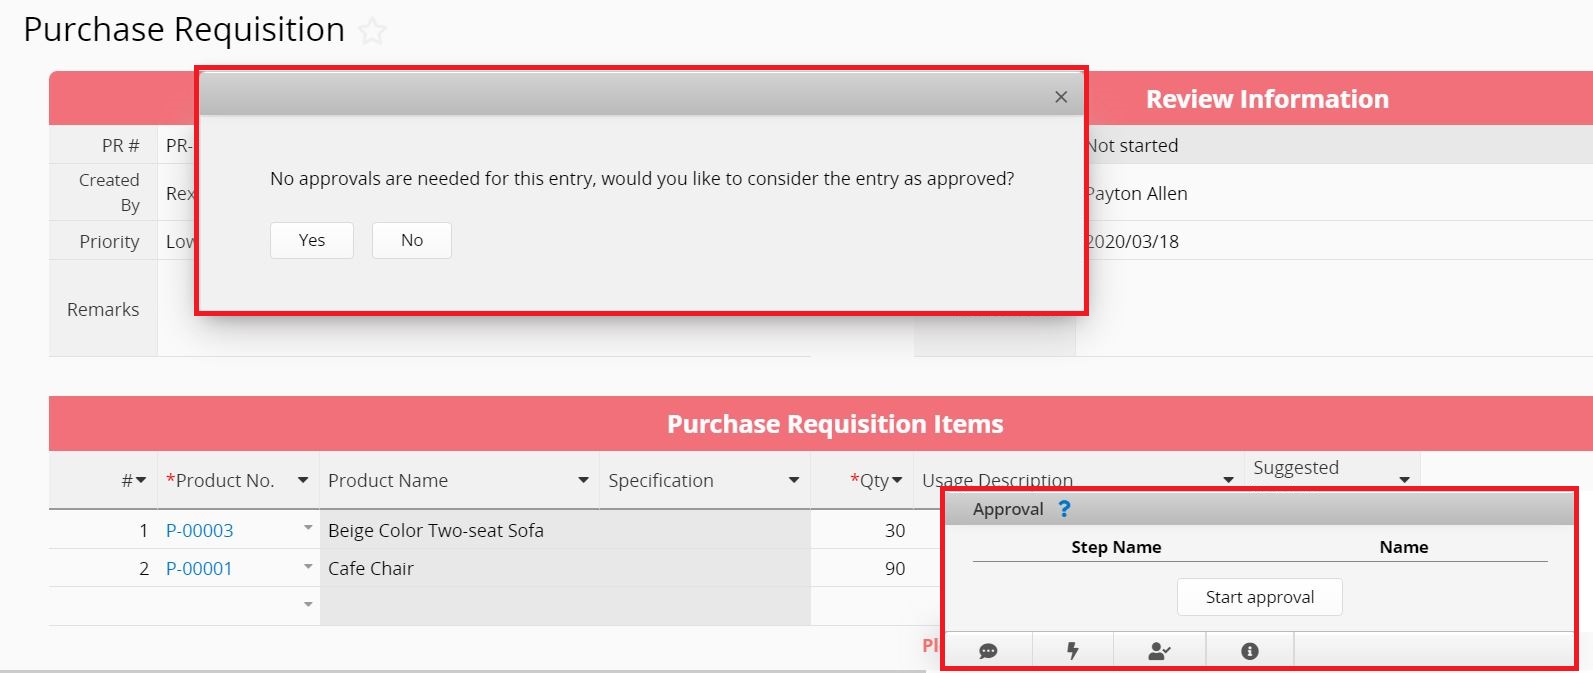
When the SYSAdmin sets an Approval Flow in the sheet, the approval process appears at the bottom right of the record after it is created and saved.
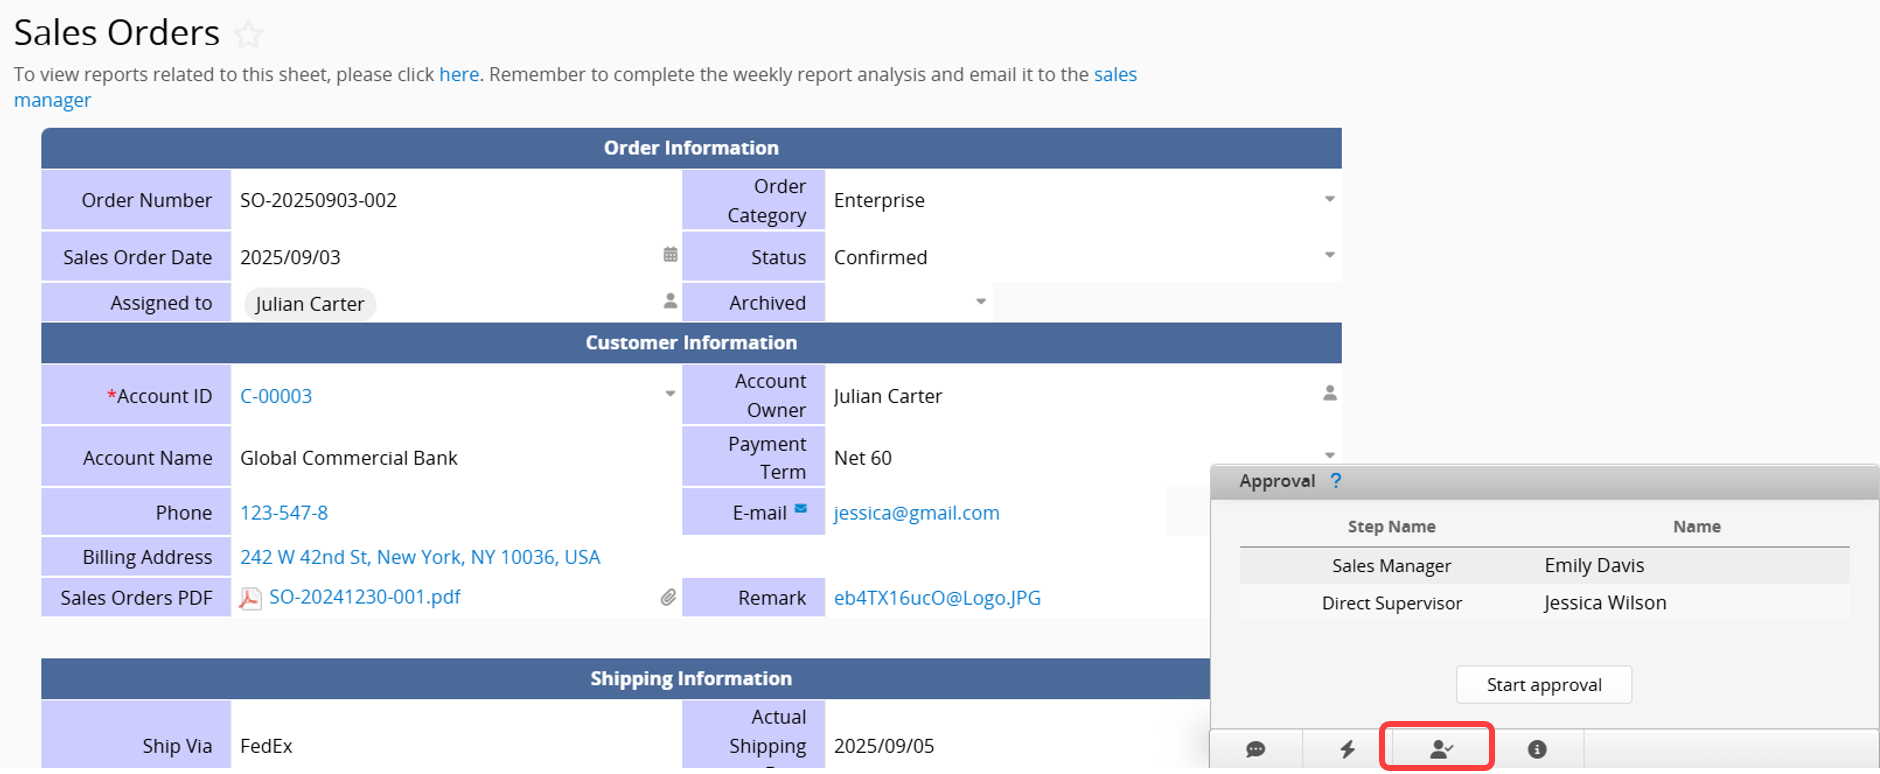
The following explains the restrictions on using the approval process for each type of user. If you have any questions regarding approval permissions, please contact the SYSAdmin.
1. Internal Users: Users with Access Rights set to "Admin" or those assigned as an Admin, such as "Bulletin User" or "Survey User", will be able to start the approval flow.
2. External Users: External users cannot start an approval process. However, if included in the approval process, they can either approve or reject the record.
3. Users Without Accounts or Not Logged In: These users cannot start or be included in the approval process. However, they can be added by specifying their email address as the approver.
On the left is the "approval step name", and on the right is the "approver". If the approver is displayed as a dropdown menu, select a user from the options.
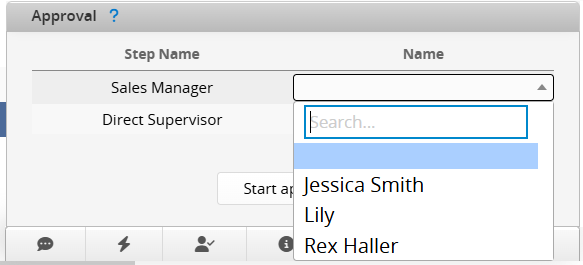
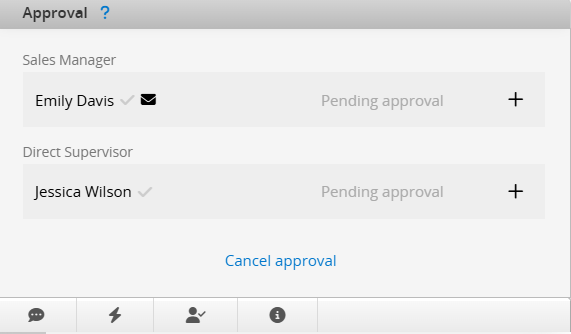
Click Start approval to start the approval process. You will see the approval status change to "Pending approval", and the system will send a notification email to the approver.
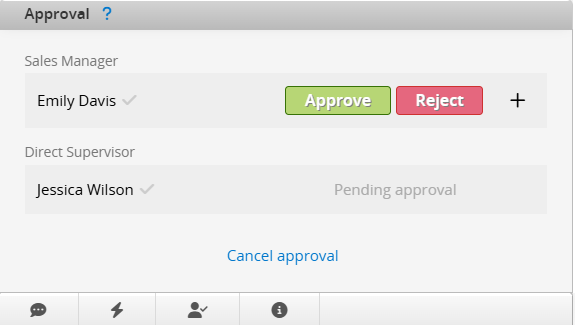
The notified approver can directly click "Approve" on the record (the "Reject" option will be available if rejection is allowed in the settings).
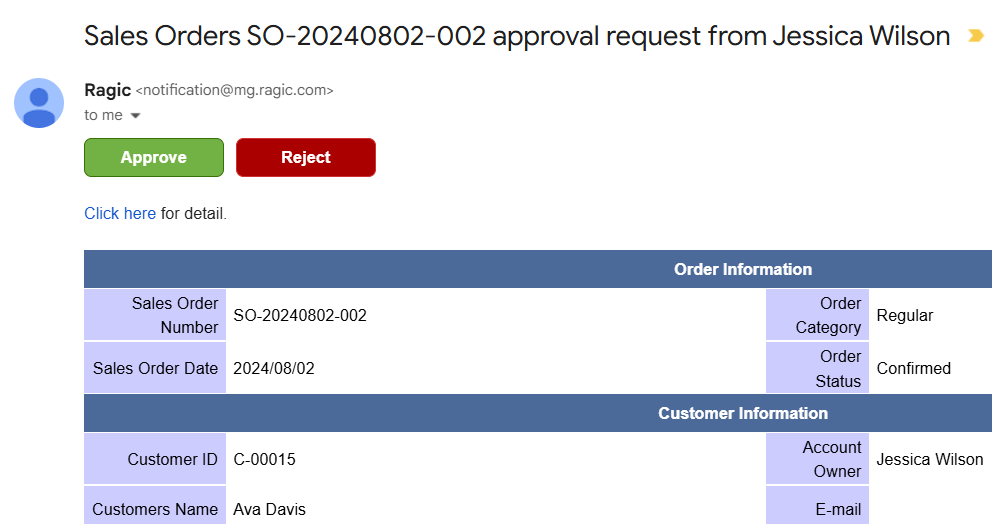
Alternatively, the approver can click "Approve" or "Reject" directly from the notification email.
Note: To approve or reject from the email, the browser must be logged into the approver's Ragic account. If the approver is not logged into the correct Ragic account or is using a different account, approval via email will not work.
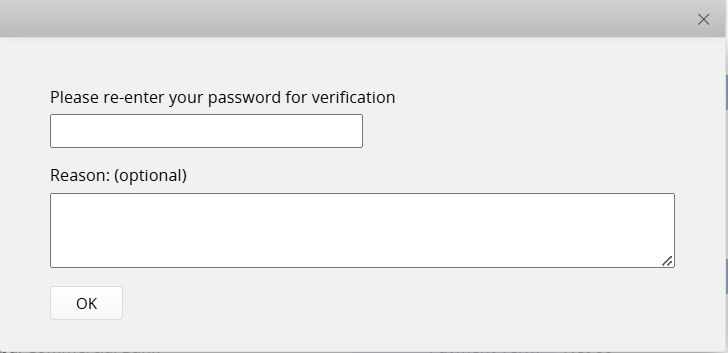
If the approval is configured with Strict identity verification, the approver will be required to re-enter their password to verify their identity during the approval process.
Note: If you log in to Ragic with your Google account, follow this method to set a password and use it to approve records.
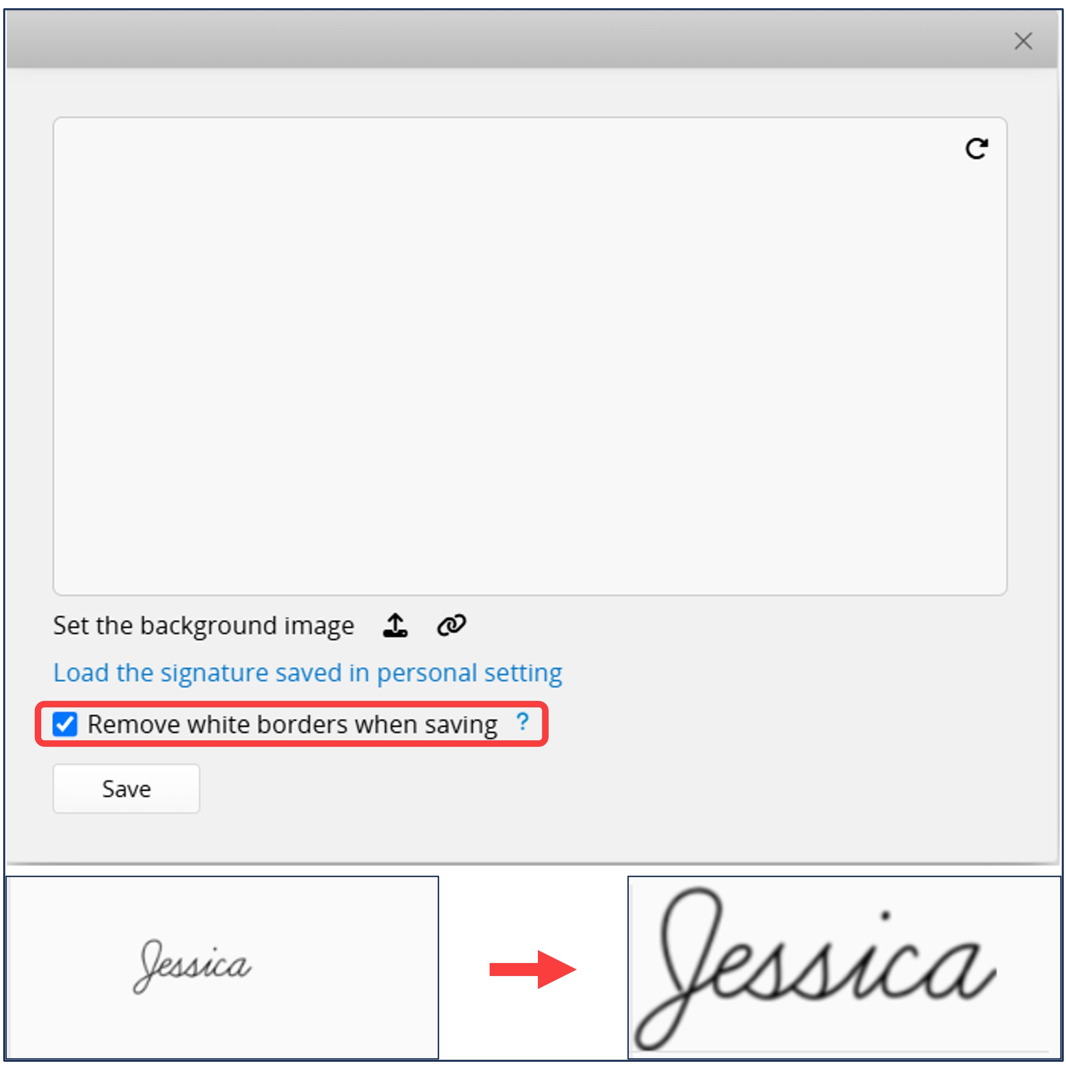
If the approval is configured with Approver signature required, the approver will see a signature window during the approval process. In addition to signing directly, the approver can upload an image or use a signature saved in their Personal Settings. After signing, they can check the option Remove white borders when saving, which will remove the white borders and save the image in its original ratio.
The approval flow progresses from top to bottom. Each approval step can only be executed once the previous step is completed. After each approval step is completed, the "Approval status" will be updated, and notifications will be sent to the relevant users.
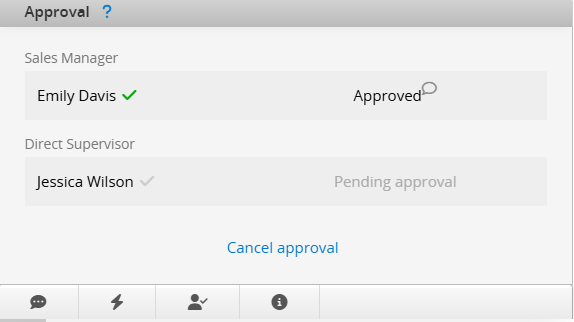
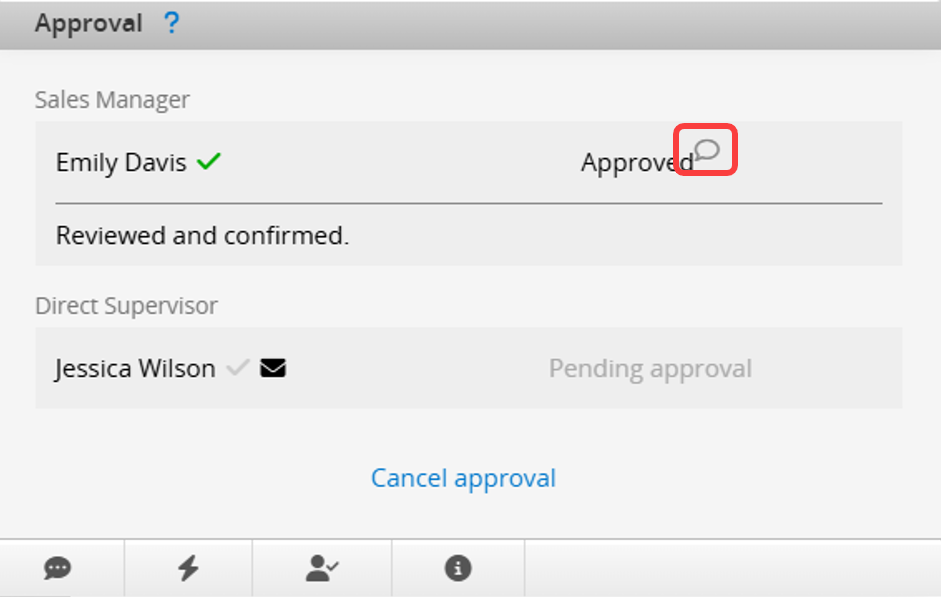
Click the icon at the top right of the approval status to view the approval reason.
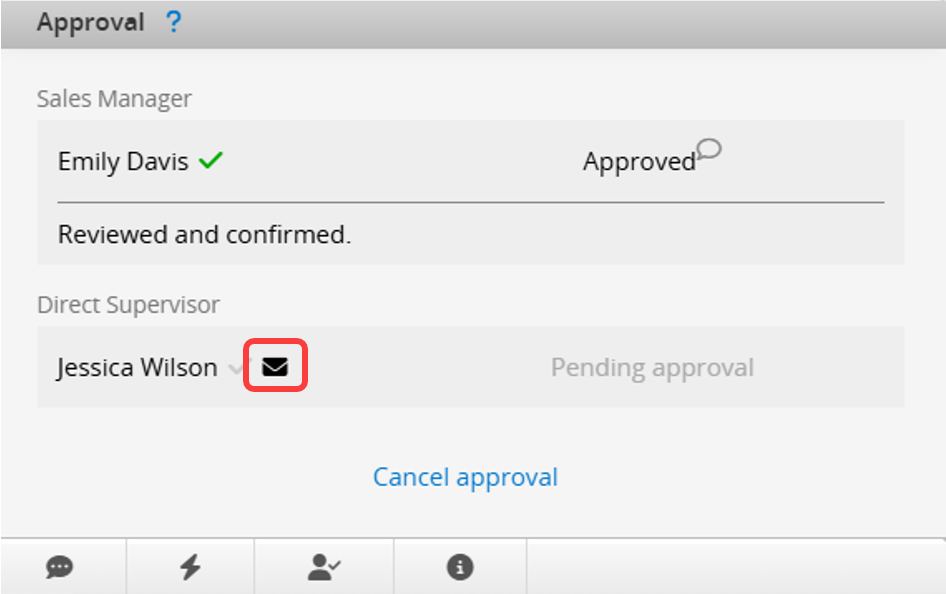
To notify the approver again, you may click the "email" icon beside the approver's name. It will also be resent to the deputy specified by the approver.
If the subsequent steps have the same approver, the system is set to Approve all subsequent steps that require one's approval by default. This setting can be unchecked if needed.
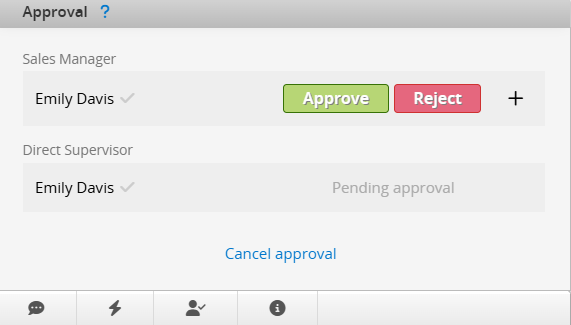
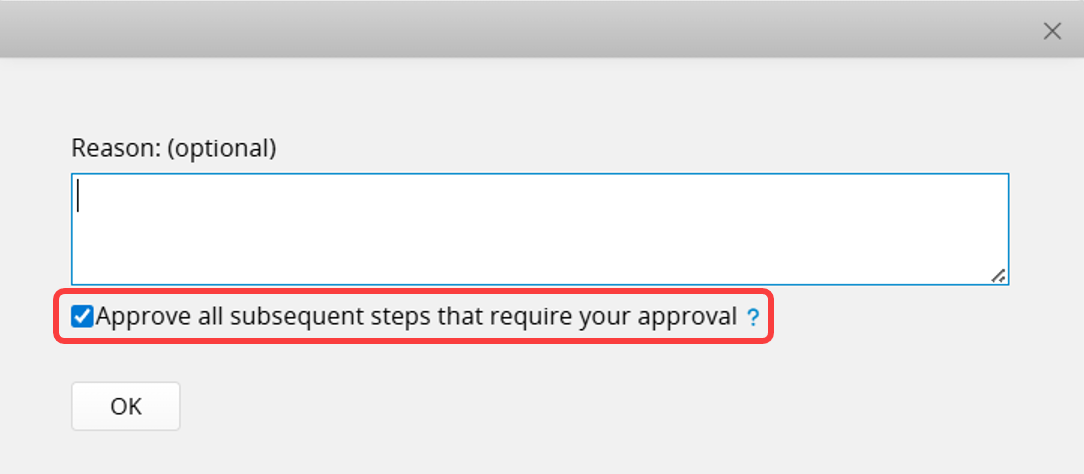
Note: If the SYSAdmin checks Approver signature required in advanced approval settings, it will disable Subsequent Step Approval. Conversely, enabling Hide reasons input box will allow it to proceed automatically and cannot be disabled.
When the record's approval steps are all skipped due to approval rules, you can still start and complete the approval process. This is useful if there are action buttons that can only be executed when the entry is approved.
You can approve or reject the "in process" approvals of multiple records through Batch Approval.
After an approval process is started, only the user who started it and SYSAdmin can cancel it. If the approval process is completed, only SYSAdmin can cancel it.
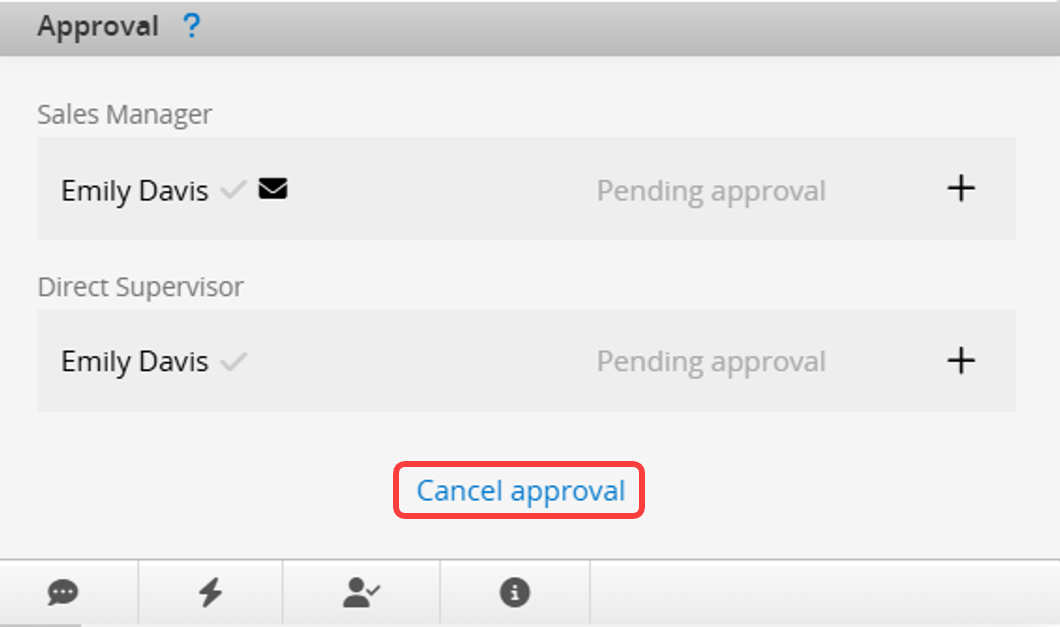
If you want to allow other users to cancel approval, please contact your SYSAdmin to modify Feature Access Settings.
Note: If the SYSAdmin configured "Execute these action buttons after completing approval", the approval process cannot be canceled once it is completed.
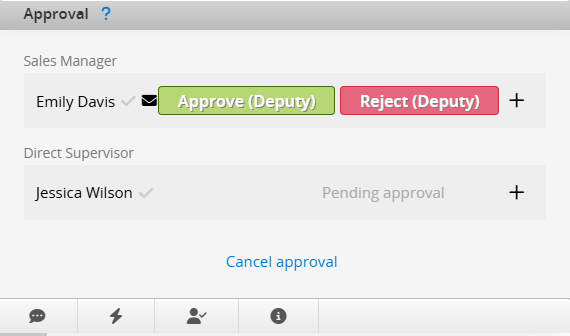
If the SYSAdmin has set up a Deputy for you and enabled the Activate and Notify Deputy option on the User Page, your deputy can approve the record when accessing the sheet requiring approval. "Deputy" will appear next to the Approve/Reject button.
Note: In addition to the SYSAdmin, users can set a Deputy and enable Activate and Notify Deputy in their Personal Settings.
In the notification email, there will also be an indication of deputy approval.
Note: To approve or reject from the email, the browser must be logged into the approver's Ragic account. If the approver is not logged into the correct Ragic account or is using a different account, approval via email will not work.

"Approval status" will indicate if approval/rejection is made by a deputy user.
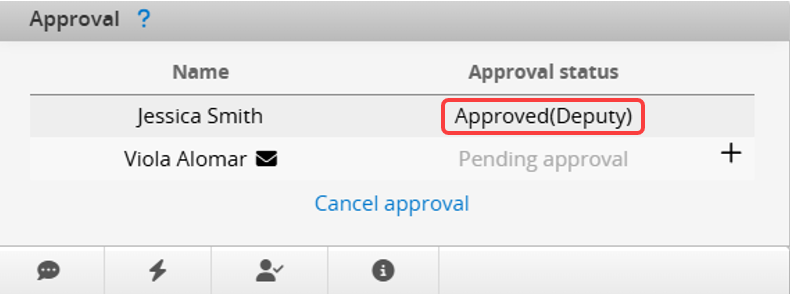
When the primary approver is unavailable, the deputy can assist in completing the approval.
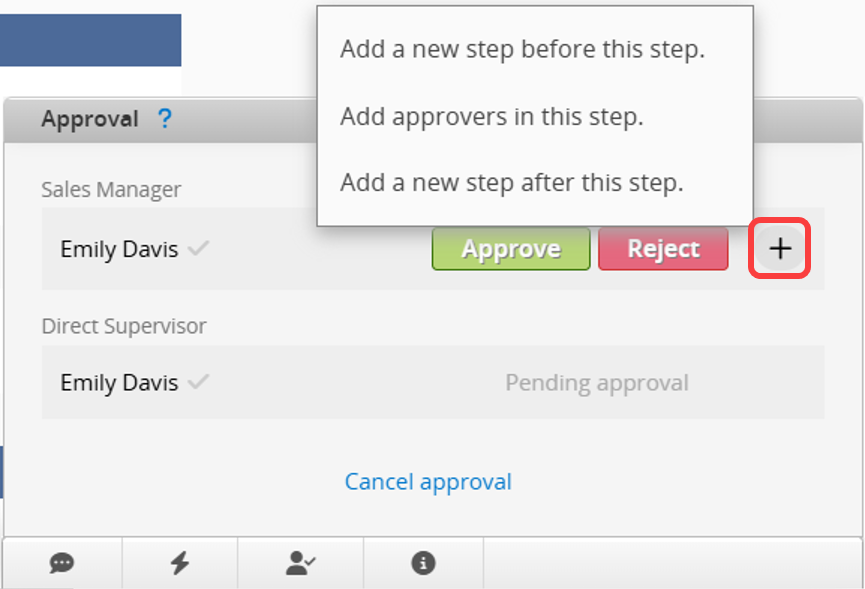
During the approval process, the approver can add other users to the approval flow by clicking the "+" button next to the approve/reject buttons.
Note: Only approvers in the current approval step can Add Approvers.
You can choose from the following options:
Add a new step before this step: Add a new approver before the current step, pausing your approval until the new step is completed.
Add approvers in this step: Add a new approver at the current step.
Add a new step after this step: Add a new approver after the current step.
 Thank you for your valuable feedback!